02 Dec 10 important notes for geomembranes installation
Preface
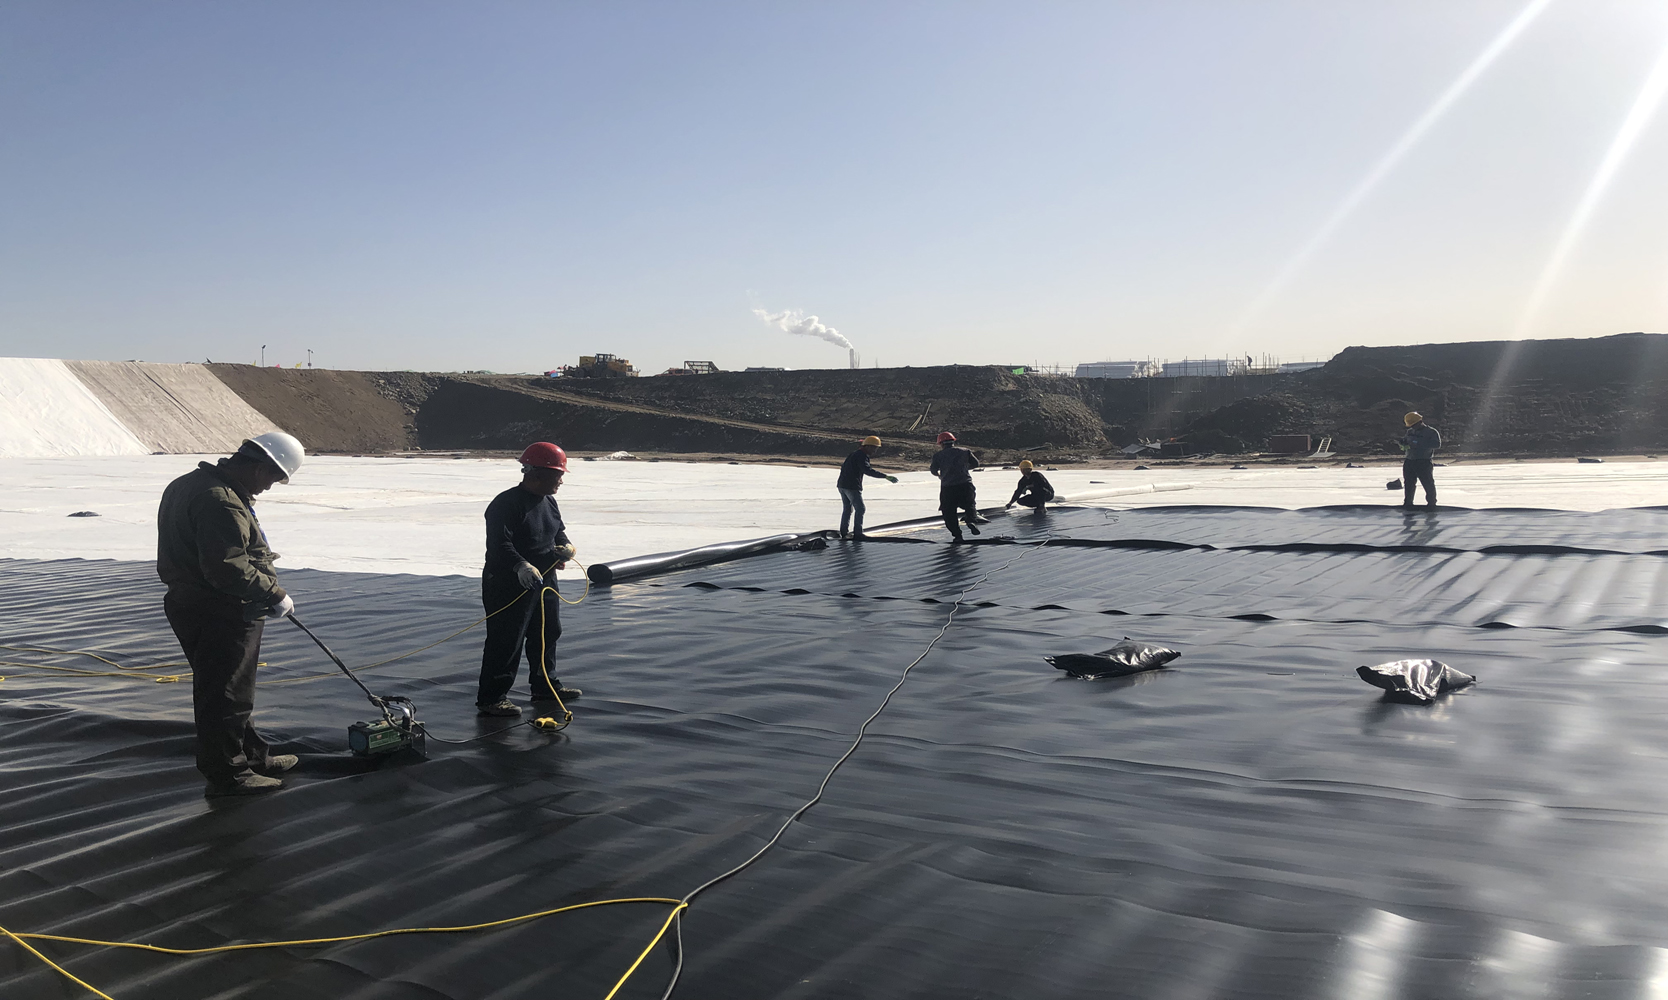
HDPE geomembranes installation is an important step in projects such as landfills, ponds, reservoirs, and ponds.
Ten factors affecting geomembranes installation
We have summarized ten factors that need to be considered before, during and after installation of geomembrane. These factors may directly affect your ongoing geomembranes installation project.
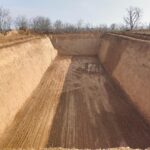
First: Before installing the geomembranes, inspect the subgrade thoroughly for any sharp objects, rocks, debris, or irregularities. The subgrade should be smooth, free of sharp edges, and properly compacted.
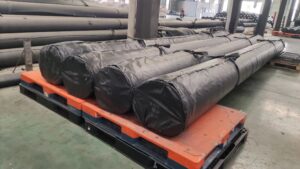
Second: The geomembranes needs to be stored correctly. Store the geomembrane roll in a dry, cool area to protect it from ultraviolet radiation and damage. Handle the roll carefully to avoid tears, punctures, or wrinkles, which may compromise the integrity of the liner.
Third: Choosing the right geomembrane material and thickness: Select a geomembrane material suitable for the specific project requirements, considering factors such as chemical compatibility, hydrostatic pressure, and site conditions.
Fourth: Utilizing proper seaming techniques: Seam the geomembrane using the recommended seaming techniques for the chosen material, such as thermal fusion, extrusion welding, or chemical bonding. The seams should be strong, watertight, and tested for quality assurance.
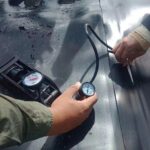
Fifth: Conducting leak testing: Perform leak testing on the installed geomembrane to ensure its integrity.
Sixth: Considering slope and anchoring: If the installation involves slopes, ensure the geomembrane is properly anchored and secured to prevent sliding or displacement. Use appropriate anchoring methods, such as ballasting, cover soil, or anchor trenches.
Seventh: Overlapping and covering the geomembrane properly: Provide sufficient overlap (typically 0.3 to 0.6 meters) between adjacent geomembrane panels to create a continuous barrier. Cover the geomembrane with suitable protective materials like soil, sand, or geotextiles to shield it from UV exposure , physical damage, and weathering.
Eighth: Monitoring weather conditions: Avoid installing the geomembrane during adverse weather conditions such as strong winds, rain, or extreme temperatures, as these can hinder proper installation and compromise the liner’s integrity.
Ninth: Quality control and supervision: Implement a robust quality control program during installation. Regularly inspect the geomembrane and seam quality to ensure compliance with project specifications and standards.
Tenth: Following the manufacturer’s guidelines and engineering recommendations: Always adhere to the manufacturer’s guidelines and recommendations for the specific geomembrane product you are using.


No Comments